🖌️Step-by-step: Creating a label in the online editor
The following guide will walk you through the process of creating a custom label for your Private Label product in our online editor. Please use Google Chrome to access all features. For precise positioning of elements, we recommend using a PC or laptop with an HD monitor.
Please note the instructions below to ensure your label is created correctly and to your specifications. Should changes to your label be required after ordering, we will unfortunately have to charge you separately for these graphic design services.
1) Product Selection
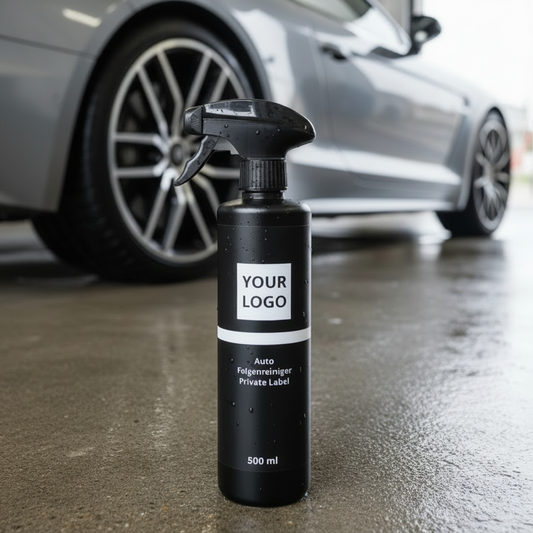
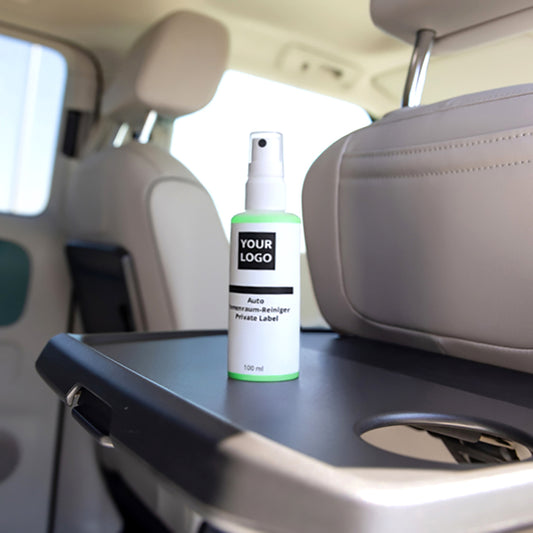
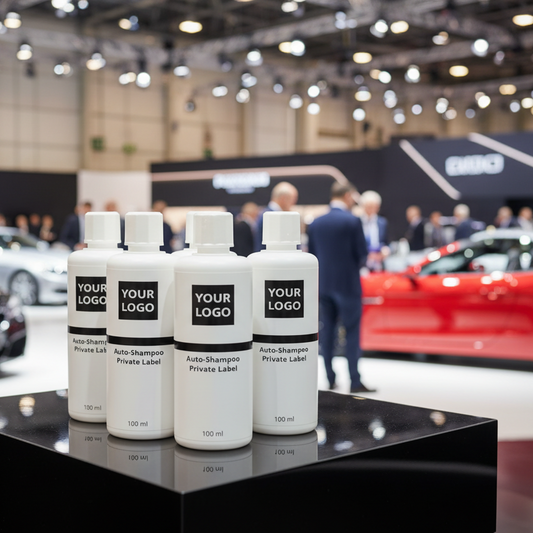
In our Private Label online shop, select the desired product, content, bottle color, and closure. Choose the desired quantity (minimum order quantity 1,000 pieces, maximum 10,000 pieces) and click the "Create Label" button.

You will be redirected to the 3D preview mode, where you can rotate the product with the mouse pointer (hold down the mouse button) and zoom with the scroll wheel. Click the "Edit" button in the upper right corner to start designing your label.

2) Label Design in the Online Editor
You can design your label according to your ideas. The following options and tools are available to you.
Guidelines - for the correct printing of your label
To check the correct placement of your elements in the safe print area, base it on these areas:
- Blue area 🔵: Bleed allowance and safety margin to the edge
- Yellow area 🟡: For placing text, images, logos, and graphics. Images and elements that should extend to the edge of the label must completely cover the blue area.
- White area ⚪: Mandatory legal information - nothing should be placed in this area. If necessary, move overlapping elements to the background.

Add Text
- You can insert individual text in various fonts and sizes.
- Ensure that the text is easily legible and not too small.
- You can adjust the text color. However, note that high-contrast colors are recommended to ensure optimal readability.
- Various tools are available for alignment and formatting. Hover your mouse over a tool to see a description of its function.

Grid (show and hide)
- The grid helps you align your elements when designing your label.

Background
- You can give your label a uniform background color. Enter the color value as HEX or CMYK.

Graphics: Use Shapes
- You can use various shapes from the library for design (circle, rectangle, triangle, and many more).

- Various tools are available for alignment and formatting - including color, transparency, rotation, moving to the foreground or background. Hover your mouse over one of the tools to get a functional description.

Graphics: Upload your own images, logos and graphics
- You have the option to upload your own images, logos, and graphics.
- Supported file formats are: PNG, JPG, SVG, PDF. Detailed information and restrictions can be found under Upload of files.
- The uploaded file should have a high resolution (at least 300 dpi at the desired print size) to ensure good print quality. If the resolution is too low, you will receive a warning message.
- Various tools are available for alignment and formatting. Hover your mouse over one of the tools to get a description of its function.

Label View
- You can check your label at any time during design by displaying the "Guidelines" to verify the correct placement of your elements within the safe print area.
- In 3D preview mode, by clicking the "Preview" button in the upper right.


General Information
- No copyright infringements: Only use your own designs or royalty-free images and graphics.
- No excessive text: Avoid too much text in a small space to ensure readability.
- Observe print area: Content outside the defined print area will not be considered.
3) Final Review of the Label Design
Before print approval (ordering), you should carefully examine your label in the digital 3D preview:
- Check that all texts and graphics are correctly positioned.
- Ensure that no content is unintentionally cut off at the edge.
- Check the colors (color codes) to ensure they match your expectations. Note: The display of colors on monitors is not color-binding.
- If adjustments are required, please make them before submitting the order.
4) Print Release and Order Completion
Once you are satisfied with your label:
- Click the "Add to Cart" button
- Confirm print approval
- The print file for your label will be generated in the background (this may take a few minutes)
- Check the quantity of your order
- Complete the order process
- Your label will then be printed and applied to the ordered Private Label product.
Frequently Asked Questions
Alternatively, instead of creating a custom label in our online editor, you can upload a print-ready file you created (PDF or raster graphic, 300 dpi, CMYK color mode) for your Private Label product: Instructions for uploading a finished print file